How to Set Up a Trade Show Booth in Under 10 Minutes: A Mannequin-Forward Approach
Quick answer: A 10-minute trade show booth setup works when you do three things in the right order: portable mannequin first (2 minutes with Nomad), signage second (3 minutes), lighting and product third (5 minutes). The vendors who set up fastest at MAGIC Las Vegas, NYNOW, Bryant Park, and Coterie share the same pattern: they bring portable equipment that does not need tools, they know which sample goes on the mannequin before they arrive, and they have a one-page setup checklist taped to the inside of their carry case.
Why setup speed matters
Most trade show vendors get 1 to 2 hours of pre-show setup time. That sounds like plenty until you factor in: dragging your gear from the loading dock, waiting for union labor, dealing with electrical hookup, troubleshooting the booth signage that did not survive shipping, and the line at the venue help desk. Vendors who can set up in 10 minutes often spend the remaining 90 minutes networking with neighboring vendors or troubleshooting issues that come up.
For multi-day shows, the same speed matters at the start of each day. If you have to break down nightly (some venues require it), 10-minute setup turns into 30 to 60 minutes saved each morning.
The 10-minute order of operations
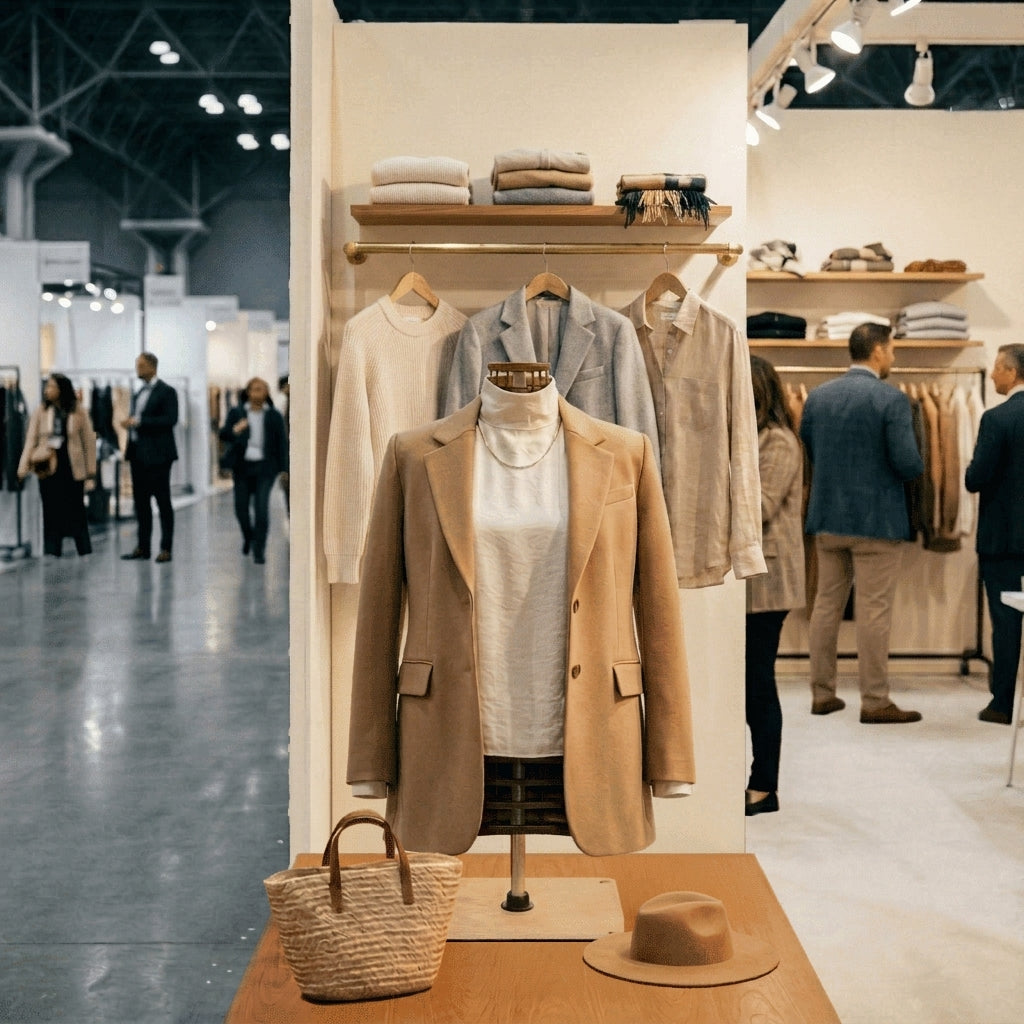
Minute 0 to 2: Mannequin first
Set up the mannequin before anything else. It is the visual anchor of your booth and the piece that takes longest if something goes wrong.
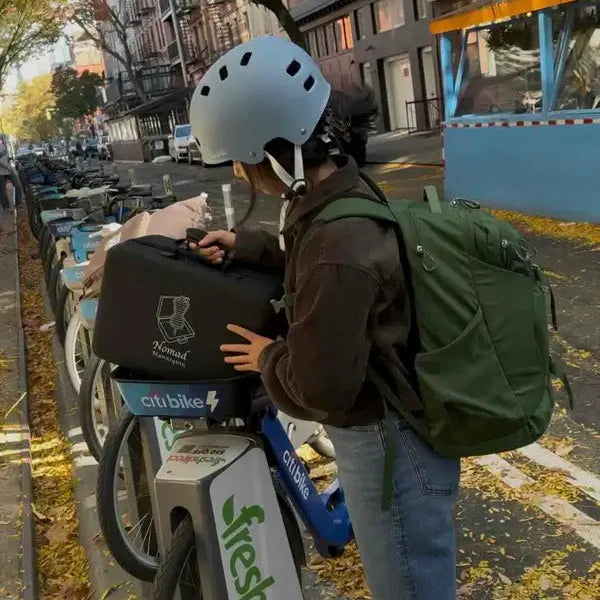
If you have a Nomad portable mannequin: open the carry case, click the wood-ring frame together, tension the steel cables by hand, set the base disc on the table or floor. Done in under 2 minutes, no tools.
If you have a folding fiberglass mannequin: open the case, attach the legs to the torso, attach the arms, attach the head, screw the base on. Usually 5 to 8 minutes.
If you have a one-piece fiberglass mannequin: pull it out of the protective wrap, place it on the stand. 1 to 2 minutes but assumes you got it shipped intact.
Minute 2 to 3: Dress the mannequin
Take your hero sample (which you already chose at home and have on a hanger in your garment bag). Put it on the mannequin. Steam any wrinkles. Add 1 to 2 accessories that complete the look.
Pro tip: dress the mannequin before raising it on the Display Stand if you are using one. Easier to work on a tabletop form.
Minute 3 to 5: Signage
Set up your retractable pop-up banner behind the booth (about 30 seconds). Attach any header signs to the pipe-and-drape walls with clips (no thumbtacks; most venues do not allow them).
Pricing or category signs go at eye level near the mannequin or at the booth edge. One clear message per sign. Skip the multi-sign clutter.
Minute 5 to 7: Lighting
Clip your 2 to 4 warm-white LED clip lights to the booth frame. Point them at the mannequin chest and face area. Plug into the extension cord that runs from your booth outlet.
Test once. Adjust angles if any light is hitting the mannequin head-on (head-on light flattens texture; side-angled light shows drape).
Minute 7 to 9: Product display and order materials
Lay out 1 to 2 touchable samples on the table next to the mannequin. Stack line sheets and lookbooks at arm's reach. Business cards in a small holder facing the aisle. Order forms behind the table.
Minute 9 to 10: Final check
Step back to the aisle and look at your booth from a buyer's perspective. Adjust mannequin angle (front of garment facing the aisle), check signage is readable from 6 feet away, confirm lighting is hitting the right spots, make sure your business cards are visible.
Done in 10 minutes.
What slows vendors down
The top time-sinks at trade show setup, in order:
- Tools. Any mannequin or fixture that needs a screwdriver, Allen key, or assembly hardware adds 3 to 8 minutes.
- Sample wrinkles. Vendors who do not steam at home end up steaming at the booth, which adds 5 to 15 minutes.
- Lighting trial and error. Vendors testing different bulbs or fixtures on site can lose 20 to 30 minutes.
- Signage that does not survive shipping. Damaged banners or printed materials force last-minute reprints (sometimes impossible mid-show).
- Waiting for power. If you did not order electrical service in advance, you wait for the venue electrician.
- Booth orientation confusion. Vendors who do not check their booth diagram before arriving sometimes set up facing the wrong way.
The pre-show prep that makes 10-minute setup possible
You cannot set up in 10 minutes if you have not done the prep at home. The vendors who hit this speed do these 5 things before they fly out:
1. Dress-rehearse at home
Set up the entire booth in your living room or studio. Time yourself. Note what trips you up. Fix it before you fly.
2. Pre-steam samples
Steam all samples 24 hours before packing. Hang them in a garment bag with cedar separators. They will arrive wrinkle-free if packed correctly.
3. Test lighting at home
Know which bulbs work for your samples and which fixtures clip securely. Buying new lighting on site is expensive and risky.
4. Print signage 2 weeks ahead
Banners and pop-ups should be in your possession at least 14 days before the show. Shipping delays kill last-minute prints.
5. Pack in setup order
Layer your carry case or rolling suitcase in reverse order of setup: mannequin and case on top (you grab it first), then samples in the garment bag, then signage, then lighting, then printed materials at the bottom. This shaves 2 to 3 minutes of digging through your bag.
Common booth setups and how long they actually take
10x10 booth with one mannequin and minimal display
Setup time: 8 to 12 minutes with portable equipment. 30 to 45 minutes with shipped fiberglass and complex signage.
10x10 booth with two mannequins and a rack of samples
Setup time: 15 to 20 minutes. The second mannequin adds 4 to 6 minutes; the rack adds 3 to 5 minutes.
10x20 booth with two mannequins, racks, and custom backdrop
Setup time: 30 to 60 minutes. The backdrop is the biggest variable; pop-up backdrops are 5 minutes, custom-built backdrops are 30+ minutes.
Bryant Park outdoor market or SoWa Boston outdoor stall
Setup time: 12 to 20 minutes (includes tent setup and weighting the base for wind). Bring sandbags or buckets for the tent corners.
Breakdown speed (the often-overlooked second half)
If you set up in 10 minutes, you can usually break down in 10 minutes too. Reverse order:
- Pack printed materials and business cards into your bag
- Take down lighting (5 minutes max)
- Remove signage and roll banner back into its case
- Undress the mannequin, fold samples into garment bag
- Disassemble the mannequin into its carry case (under 2 minutes for Nomad)
- Final sweep of the booth, take any trash to the show bins
Most vendors are out of their booth 15 to 20 minutes after the show closes, which means you beat the loading dock rush.
What we recommend
If setup speed matters to you (and it should at every show), the single biggest factor is which mannequin you bring. Toolless portable mannequins like Nomad set up in under 2 minutes. Folding fiberglass takes 5 to 8 minutes. On-site rentals come pre-assembled but cost $250 to $400 per show. Shop the Nomad Mannequin or read the first-time vendor checklist for the complete pre-show prep list.

,%20signage%20second%20(3%20minutes),%20lighting%20and%20product...)